Beyond Aesthetics: The Structural Guide to Renovating a Garden Path
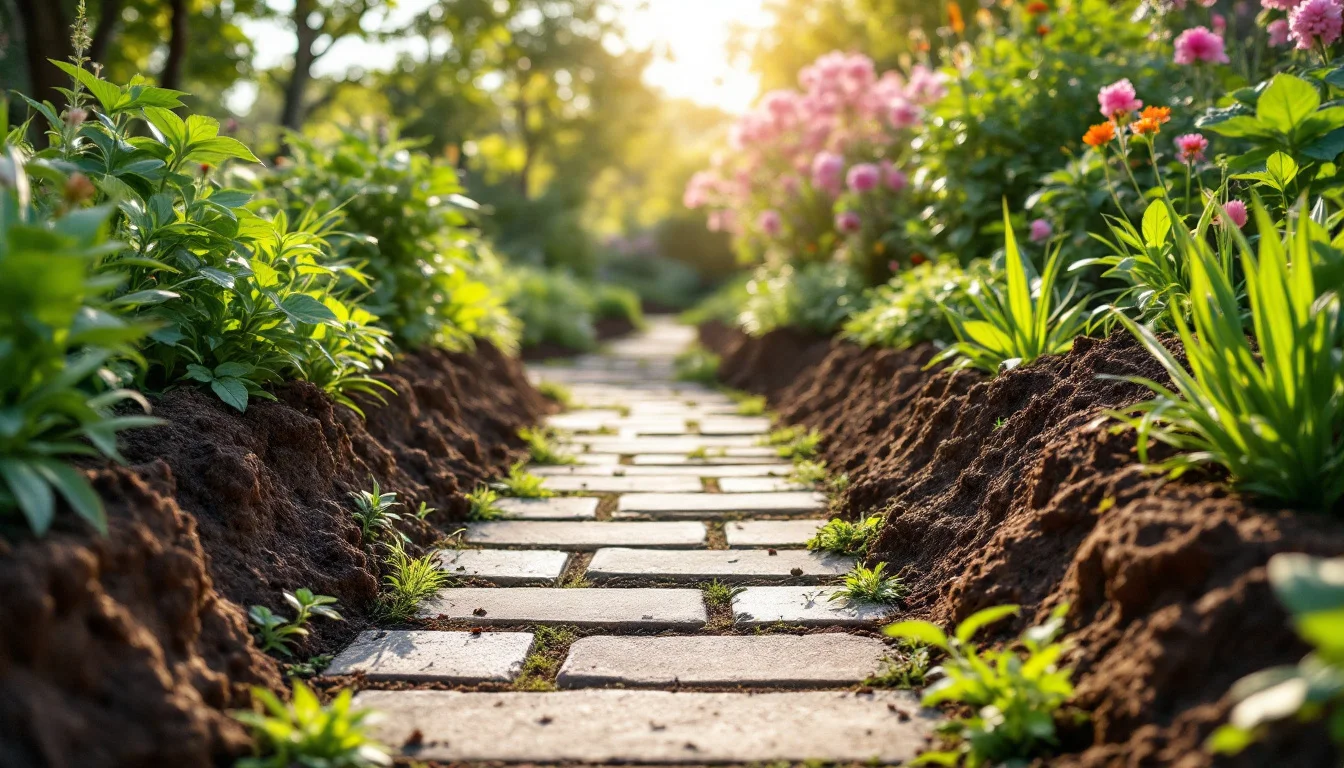
Designing a landscape often begins with visual textures, but a durable outdoor walkway is fundamentally an exercise in structural engineering. Without a stabilized base and proper drainage, even the most expensive surface stones risk sinking, shifting, or becoming engulfed by weeds. According to a guide on garden path materials by US-based LawnStarter, material choice should be matched to climate and foot traffic, because some materials crack in freeze-thaw cycles or soften in extreme heat. A path built for a hot, dry climate requires different structural mechanics than one designed to survive heavy winter frosts.
Renovating a garden path means looking below the soil line. The true longevity of any walkway depends on unseen components: compacted sub-bases, weed membranes, and cellular reinforcement grids. By treating the installation as a multi-layered structural system rather than a simple surface decoration, homeowners can prevent seasonal degradation. Proper base mechanics transform upfront material costs into decades of stability, eliminating the continuous labor of replacing sunken stones or replenishing washed-out mulch.
Key Takeaways
- Excavation is mandatory: Skipping the trenching phase leads to rapid structural failure, with required depths depending on the surface weight.
- Climate dictates materials: Flexible joints tolerate winter expansion better than rigid slabs, while extreme heat demands temperature-stable aggregates.
- Sub-surface grids prevent mud: Installing honeycomb geo-grids beneath the surface reinforces the area and prevents aggregate migration.
- Cheap materials require labor: Low-cost organics demand frequent replacement, whereas heavy masonry can last 25 to 40 years with only occasional power washing and joint-sand top-ups.
How Deep Should You Excavate a Garden Path?
The difference between a path that lasts a season and one that lasts decades lies in the trench. Excavation depth breaks into three profiles based on surface weight, using parameters from an Australian DIY landscape guide published by EzyHex.
Regardless of the depth profile, every base layer begins with vegetation defense. As noted by EzyHex, a weed-control membrane laid over excavated soil before the surface material is added physically blocks weeds from emerging through the finished path.
The 50 mm Organics Profile
For a lightweight mulch path, the DIY method given by EzyHex requires excavating about 50 mm of topsoil:- Mark out the path with rope or spray paint.
- Dig out about 50 mm of topsoil.
- Lay the protective weed matting.
- Pour the mulch and rake it level.
- Compact the surface with a tamper or simply by walking over it.
The 100 mm Aggregate Profile
Heavy loose aggregates require a deeper trench to contain the stones and support stabilization hardware. The EzyHex DIY method for a gravel path requires digging down about 100 mm. After laying the weed mat, installers must install geo hex grids, fill the cells with gravel, rake it smooth, and finally compact the layer with a hand tamper or plate compactor.The 150 mm Hardscape Profile
Heavy masonry demands the most substantial earthworks to prevent sinking. For a paver path in mild climates, the EzyHex DIY method specifies digging a trench about 100–150 mm deep, though regions experiencing deep frost cycles require excavation depths of 200 to 400 mm for a sufficient sub-base. The structural sequence requires laying and compacting a base of road base or crushed rock, using gravel grids to stabilize the pavers, placing the pavers and tapping them in with a rubber mallet, and then filling the gaps with fine gravel or sand.Do You Need Geo-Grids Under Gravel?
Extreme weather strips away the illusion that a garden path is just a decorative feature. Heavy rainfall and deep freezes actively work to dismantle outdoor structures by turning topsoil into liquid mud and expanding trapped ground moisture into ice.
Structural Reinforcement Grids
To counter wet conditions and heavy footfall, sub-surface hardware is strictly necessary. According to Australian landscape supplier EzyHex's pathways guide, geo hex (honeycomb) grids placed under a path reinforce the surface layer. Mechanically, they stabilize gravel so it does not shift, make paver paths stronger, and stop grass paths from turning into mud in high-traffic areas. By trapping the load-bearing material inside rigid geometric pockets, lateral movement is restricted.Surviving the Freeze-Thaw Cycle
In northern climates, rigid surface materials often shatter when the ground freezes and heaves upward. LawnStarter's review of path materials notes that individual paver or brick units can move slightly with freeze-thaw cycles, which is why they tolerate cold climates better than a single rigid slab. Provided they are laid over a sufficiently deep, draining sub-base, this flexibility allows the walkway to undulate with the freezing ground and settle back into place during the thaw without sustaining structural damage.Water Runoff Management
Beyond frost, heavy rain presents a distinct engineering challenge. Modern landscaping prioritizes drainage over absolute water diversion. LawnStarter highlights that permeable paver systems let water seep in, reducing stormwater runoff. Instead of overwhelming municipal drains or flooding adjacent garden beds, these permeable joints allow rainwater to filter naturally back into the local water table.Which Path Material Lasts Longest?
Selecting a surface material fundamentally dictates the long-term maintenance schedule of the walkway. Options range from organic wood chips to heavy masonry, and each category carries distinct structural lifespans and international benchmark costs.
When evaluating budget, it is useful to look at international baseline figures. The cost data provided by LawnStarter serves as a US standard benchmark to understand the scale of investment, differentiating low-cost DIY organics from premium hardscaping. These figures are denominated in US dollars and reflect US market conditions; they should not be read as local prices.
The Extremes of Path Durability
At the upper end of the durability spectrum, LawnStarter points out that poured concrete works well in high-traffic areas, costing $5.89 to $12 per square foot (US benchmark), and lasts 30 to 50 years in favorable climates, though severe freeze-thaw cycles can drastically reduce this lifespan without specialized concrete mixes. Conversely, temporary synthetic options degrade quickly. Rolled mat paths cost $1 to $2 per square foot and have a lifespan of about five years, with heat and UV shortening it depending on the local climate.Benchmark Cost Matrix
The following table outlines the expected lifespans and US baseline costs for standard path materials, according to LawnStarter's materials guide. (Note: All costs are US dollar figures reflecting US market conditions and are provided for comparative reference only. Cost units vary between per-square-foot and per-cubic-yard based on standard supply measurements).| Material Category | Expected Lifespan | US Cost Benchmark |
|---|---|---|
| Paver or Brick | 25 to 40 years | $9 to $20 per square foot |
| Asphalt | 12 to 20 years | $4 to $6 per square foot (requires professional installation) |
| Landscape Gravel | - | $0.78 to $1.70 per square foot |
| Pea Gravel | - | $25 to $67 per cubic yard |
| Mulch | Breaks down over time; top up roughly every year | $77 to $94 per cubic yard installed |
While asphalt offers a mid-tier price point, it eliminates the possibility of DIY labor, requiring heavy machinery and professional contractors. In contrast, aggregate and hardscape options allow homeowners to offset labor costs through their own excavation and grading efforts.
The Lifespan Paradox: Why 'Cheap' Paths Cost More
When planning a landscape renovation, evaluating materials purely by their initial purchase price often leads to a false economy. The cheapest upfront materials demand relentless, expensive recurring labor.
The Burden of Organic Degradation
Soft organic paths appear highly cost-effective on day one. However, according to EzyHex's landscape guide, mulch breaks down over time and needs topping up roughly every year. This demands a decade of repetitive hauling, raking, and spreading labor.The High ROI of Hardscaping
Conversely, heavy masonry requires significant initial capital and intensive excavation. Yet, this upfront structural effort eliminates future labor. LawnStarter notes that a well-installed paver or brick path lasts 25 to 40 years with little upkeep beyond occasional power washing and replacing joint sand. Once the sub-base is properly engineered, the surface requires minimal upkeep.Mitigating Upfront Hardscape Costs
For those deterred by the initial price of brick or stone, alternative sourcing can bridge the gap between heavy structural longevity and tight budgets. In the Australian context, EzyHex highlights that recycled materials are promoted as a budget route for paving and edging, with pavers and bricks sourced free or cheaply from online marketplaces, second-hand sources, and local tip shops. Leveraging these secondary markets allows DIYers to build a lasting hardscape at a fraction of the retail benchmark.FAQ: Solving Common Garden Path Problems
Why does my newly laid gravel path feel soft and unstable underfoot?
Loose aggregate requires mechanical intervention to lock the individual stones together. According to EzyHex's DIY guide, compacting a granular surface layer (gravel) with a hand tamper or plate compactor consolidates the material to produce a firm, solid finish. Without this heavy compaction step, the stones will continuously roll and shift beneath your feet.Can I install a path without excavating topsoil?
Skipping excavation leads to structural failure. Hardscapes laid directly on topsoil risk sinking or tilting as the uncompacted earth shifts beneath them, while looser materials require a trench to contain them and house the weed membrane.Why do my garden bricks crack during the winter?
If a path is constructed as a completely rigid slab, it cannot adapt to freezing ground moisture. Flexible joints are essential in cold climates. Individual units that can move slightly with freeze-thaw cycles survive deep winter frosts by shifting and settling, whereas inflexible concrete runs a high risk of cracking.Conclusion
Treating a garden path purely as an aesthetic addition overlooks its critical role in residential land management. Because freeze-thaw and heavy rainfall are the two dominant failure modes, permeable, reinforced surfaces reduce long-term repair risk. By mastering sub-surface excavation and relying on geo-grids rather than bare earth, homeowners can construct pathways that actively manage stormwater while resisting the destructive forces of shifting soil.