How to Build a Drip Irrigation System in Your Garden
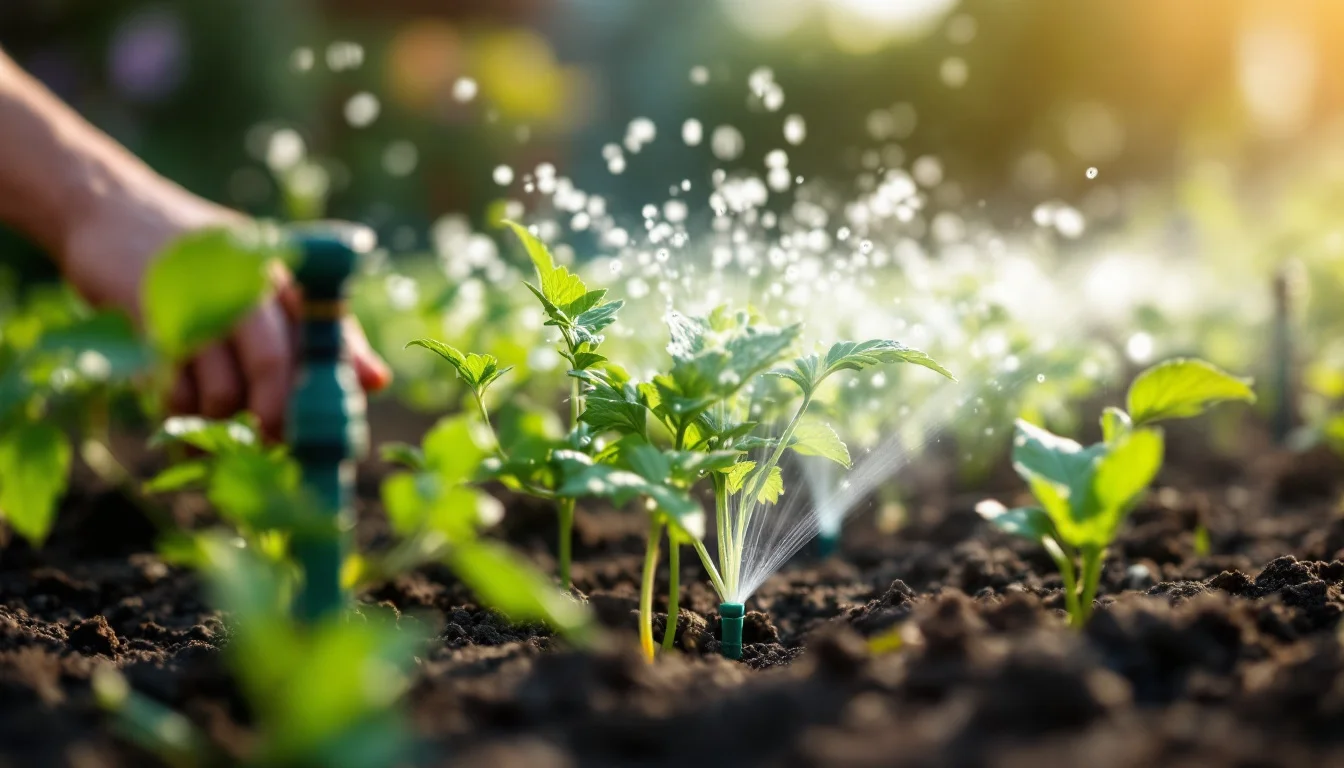
Modern landscaping often looks complex, but installing an effective drip irrigation system is fundamentally an exercise in basic pressure management and modular tubing selection. Rather than hiring costly professionals, home gardeners can build an automated watering ecosystem.
By understanding how to balance water pressure and route standardized tubing, you can construct a network that delivers precise hydration directly to the root zones of your plants. This modular approach is essentially plug-and-play once the foundational rules of fluid dynamics are respected. The following guide breaks down the process into actionable steps, from securing the initial water source to programming the final automation hardware, helping your property be equipped with a durable, water-saving infrastructure.
Key Takeaways
- Pressure: Drip systems typically require a specific minimum baseline pressure to function effectively, and a pressure regulator is often essential for municipal taps.
- Filtration: Installing a filter before the tubing is strongly recommended to prevent clogging.
- Tubing: Use 1/2-inch tubing for the main lines and 1/4-inch tubing for final delivery branches.
- Anchoring: Always stake your lines and endpoints so they do not shift over time.
- Automation: Adding a timer at the tap creates a straightforward, automated watering schedule.
What water pressure does drip irrigation need?
Before a single tube is laid across the soil, the foundational requirement of any irrigation system must be strictly addressed: ensuring correct water pressure and a clean flow. The physical infrastructure of your new system begins right at the tap.
Securing the Water Source
The very first step in installing a drip irrigation system is to firmly connect it to a reliable water source. For the vast majority of residential installations, the most common water source is a standard garden hose connection. However, the system's inherent modularity means that a rain barrel can also be used, providing an alternative for those utilizing collected precipitation. Because a gravity-fed rain barrel often falls short of the required pressure baseline, a booster pump is typically necessary in these setups.Dialing in the Required Pressure
Once connected, mechanical performance hinges entirely on pressure dynamics. Depending on the manufacturer and system type, drip irrigation setups require a specific minimum water pressure to work effectively. If the pressure drops below this threshold, the water may fail to reach the endpoints of the network reliably.Water pressure at the water source can be measured with a pressure gauge, which reads the pressure in pounds per square inch (PSI). Homeowners should attach this tool directly to the tap before connecting any plastic lines. If the gauge reveals that the water pressure at the source is too low, a booster pump may be needed to increase the flow, helping meet the required pressure threshold. Conversely, because municipal mains water typically exceeds the safe limits of drip tubing, installing a pressure regulator is generally an indispensable step.
The Importance of Filtration
Even with adequate pressure, raw water carries unseen risks. Rain Bird recommends installing a filter to capture excess sediment and other debris before it ever enters the drip tubing. This preventative step is strongly recommended because dirt and debris can clog the tubing and emitters, reducing irrigation efficiency and potentially forcing system teardowns to clear blockages.How do you lay out 1/2-inch and 1/4-inch tubing?
With the source secured, pressure calibrated, and filtration installed, the next phase involves routing the physical tubing network across the landscape. This requires understanding the specific roles of different pipe diameters to maintain system stability.
The Main Highway: 1/2-Inch Tubing
The primary infrastructure of your watering network acts as the system's central artery. According to Rain Bird, 1/2-inch tubing is a great choice for most gardens because it balances water flow and pressure well. This thicker pipeline is typically run directly from the initial water source, winding through the center of the main landscaping beds.The Flexible Last Mile: 1/4-Inch Lines
While the main artery handles the heavy volume, secondary branching is required to reach individual plant targets. Connecting directly into the thicker pipe, thinner lines serve as the final delivery mechanism. One prominent benefit of 1/4-inch tubing is that it allows you to adjust the position of the watering devices easily as needed.This adaptability is useful as plants grow and change in size through the season. Instead of a rigid grid, these smaller lines act as a flexible network, easily weaving around expanding root systems or shifting foliage without requiring you to unearth or cut the main 1/2-inch artery.
Which emitter for pots, rows, and single plants?
The transition from tubing to endpoints is where the system becomes tailored to the specific vegetation in your yard. Matching the correct endpoint hardware to the specific plant type prevents localized under-watering or flooding.
Emitter Selection Guide
Based on recommendations from Rain Bird, this matrix maps out watering devices based on your specific garden zones:| Device Type | Best Garden Zone | Delivery Method |
|---|---|---|
| Spot Drippers (Spot Watering Emitters) | Individual plants or small clusters | A precise, slow drip directly to the base to avoid soaking barren soil |
| Staked Bubblers | Larger areas or large pots | Adjustable flow ranging from a slow drip up to a heavier stream |
| Emitter Tubing | Long plant rows, window boxes, planters | 1/4-inch tubing with built-in devices spaced at regular intervals |
By selecting the right hardware, your setup comfortably accommodates thirstier shrubs with bubblers, while emitter tubing can be run along the full length of the planter to ensure the even watering of all plants along the container.
How do you stop the lines moving and automate watering?
A properly laid tubing network is only effective if it remains exactly where it was initially installed. The final phase involves securing the physical hardware and programming the operational schedule.
Physical Anchoring
The elements, shifting soil, and garden wildlife can easily disrupt an unanchored setup. Once the tubing and watering devices are in place, stakes should be used to hold the tubing so it does not move or become dislodged. This physical anchoring helps keep the watering devices securely in place and pointing in the right direction. Without stakes, flexible 1/4-inch lines might curl away from the plant base over time, causing the emitters to water empty dirt.The Automation Advantage
To streamline operation, a timer can be attached at the water source for a "set it and forget it" setup. This device sits directly at the tap, automatically turning the system on and off at programmed times.According to Rain Bird, a timer turns the water on and off at specific times, which can save time and reduce water waste. By automating the schedule, homeowners can help ensure their properties are irrigated at convenient times, improving the overall efficiency of the setup.
Should you buy a kit or individual components?
Translating this standard irrigation logic into practical application requires sourcing the right components. Modular setups have become financially viable compared to hiring a professional landscaper.
Purchasing Kits vs. Individual Parts
When planning the build, your purchasing strategy matters. Rain Bird advises that for a small garden, you might wish to start with a consolidated kit. For instance, comprehensive starter kits from brands like Rain Bird often include most core components, though specific inclusions vary by market and items like timers or pressure regulators are frequently sold separately. This presents a straightforward starting option for beginners who want to avoid individually selecting connectors and lengths of tubing.Alternatively, purchasing individual modular components is accessible at most local garden centres and hardware chains. Buying bulk rolls of 1/2-inch and 1/4-inch lines alongside specialized bubblers allows you to create a custom installation tailored exactly to your garden's layout.
Frequently Asked Questions
Can I run drip irrigation from a rain barrel? Yes, but because a rain barrel relies on gravity, the water pressure is often too low to meet the minimum pressure baseline required by many systems. A booster pump is typically needed to increase the pressure and ensure water reaches the endpoints.
Do I need a pressure regulator? While drip systems require a specific minimum pressure to function, municipal mains water frequently exceeds the safe working pressure of standard drip tubing. Using a pressure regulator at the tap is typically indispensable to prevent high-pressure surges from blowing out lines or damaging your endpoints.
Is drip irrigation suitable for all parts of my garden? Drip systems excel at targeting individual plants, shrubs, and rows, but they are generally not the most practical choice for watering large, unbroken stretches of lawn or broad areas requiring overhead coverage for seed germination.
Conclusion
Mastering basic pressure management at a residential scale transforms property upkeep from a daily manual chore into an automated background process. While automation saves time and can help reduce water waste, routine checks are still necessary. At the start of each growing season, it is recommended to flush the lines and inspect for emitter clogging. This proactive approach helps landscapes remain vibrant and healthy while conserving water. Homeowners who invest in this modular infrastructure will see reliable dividends in plant vitality over the coming seasons.