Installing Garden Lighting Yourself: Why 12-Volt LED Systems Outsmart 230V Wiring in 2026
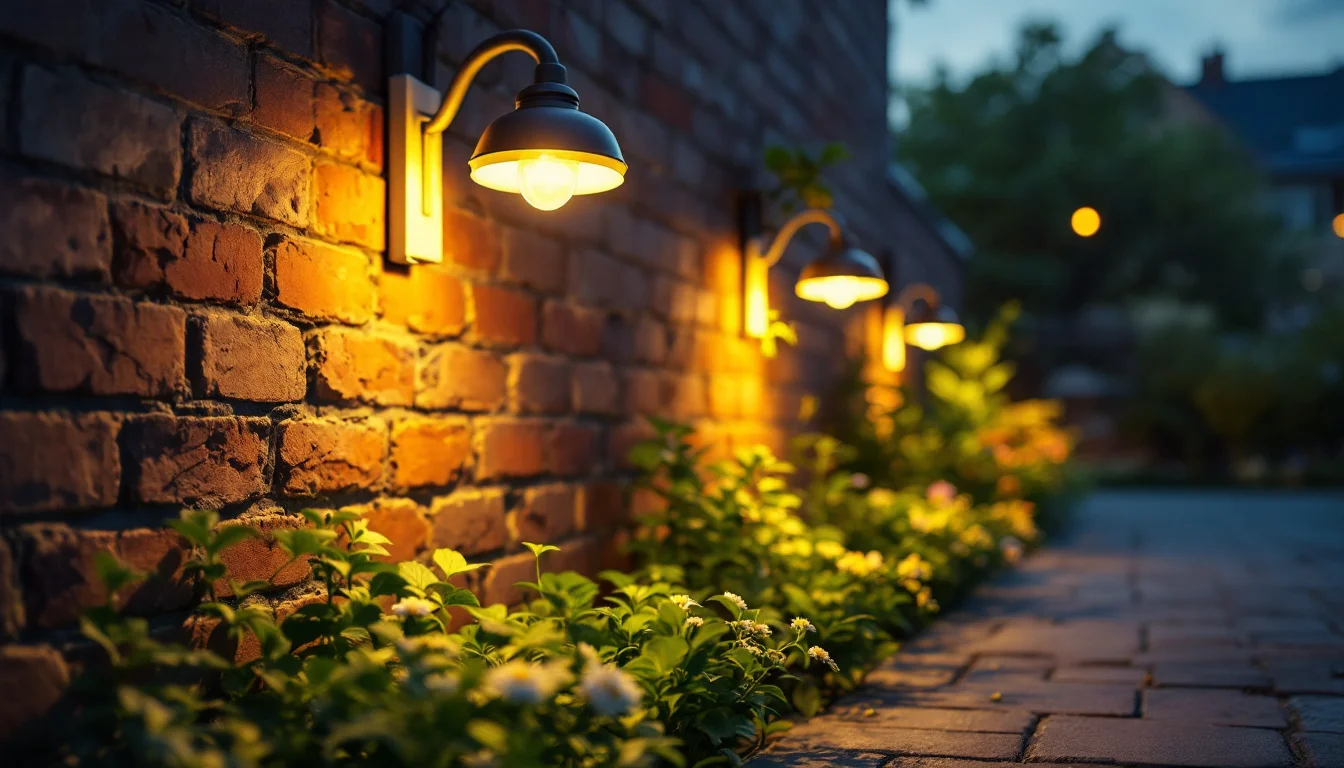
Designing a beautifully illuminated outdoor space often conjures images of heavy machinery, ruined lawns, and grueling manual labor. For decades, introducing permanent light into a landscape meant wrestling with thick, rigid cables and digging trenches deep enough to evade a stray shovel strike. However, amateur installers rethinking their garden lighting blueprint in 2026 have access to a fundamentally different physical architecture.
The shift relies entirely on low-voltage power (typically 12V). By stepping the voltage down before the electricity ever reaches the yard, modern systems bypass the physical bulk and strict protective measures required for full-power outdoor mains. Furthermore, the light sources themselves have evolved significantly. Professional-grade LED landscape lights now use significantly less energy than their halogen alternatives. This reduction in power draw not only shrinks electricity consumption but fundamentally changes the wiring infrastructure required to support it. For the modern homeowner, illuminating a garden means cutting a shallow 15 cm slit, not digging a deep trench.
Key Takeaways
- Shallow Burial: 12V systems are frequently installed at a 15 cm (6-inch) burial depth (common US practice; local rules and codes vary).
- No Armor Needed: Low-voltage cable eliminates the need for steel armouring and rigid conduit.
- Transformer Sizing: Calculate load by taking total wattage × 1.25, rounded up to the next transformer size.
- Waterproof Connections: All underground splices must use IP68-rated waterproof junction boxes.
- Voltage Drop: Runs extending beyond 100 feet may require multi-tap transformers to compensate for voltage loss.
The DIY Divide: 12-Volt LED Systems vs. Traditional Mains Power
The central decision in any outdoor lighting project is determining the voltage that will run beneath the soil. The underlying technology dictates the physical labor, the material costs, and the required safety parameters of the entire installation.
Low-Voltage and High-Voltage Thresholds
Low-voltage landscape lighting systems typically operate at a mere 12 volts, compared with the 120 volts used in standard household circuits in North America, or the robust 230 volts common across European mains power. This drastic reduction in electrical pressure effectively reduces the shock hazard, stripping away many of the demanding physical protections mandated for line-voltage setups.
Because the heavy protections are removed, the financial barriers fall as well. Industry analyses note that installation costs for low-voltage landscape lighting are generally substantially lower than those for line-voltage systems. This lower cost is largely attributed to simpler wiring requirements, reducing both material expenditures and physical excavation time.
Comparison Matrix: Installation Requirements
The table below contrasts the physical demands of a modern 12V setup against the baseline rules for traditional high-voltage installations. Note that burial depth requirements vary by jurisdiction and installation context; figures below reflect commonly cited baselines for reference.
| Installation Standard | Required Burial Depth | Cable Protection Needed | Additional Infrastructure |
|---|---|---|---|
| 12-Volt (Low-Voltage) | Frequently 15 cm (6 inches) — common US practice (local codes vary) | Standard direct-burial rating | None (shallow trench only) |
| 120-Volt (US Standard) | Varies depending on installation method (often up to 61 cm / 24 inches) — per NEC requirements | Thick insulation | Rigid conduit and junction boxes |
| 230-Volt (EU/Dutch Proxy) | Minimum 60 cm — Dutch new-build installations per DAMAN/Building Decree 2012 | Heavy steel armouring | Detection tape and RCD upgrades |
Why Is Line-Voltage (230V) Trenching So Difficult?
To understand the sheer convenience of a 12-volt system, one must examine the grueling physical demands of running full line-voltage into an outdoor environment. When transmitting line-voltage current through damp soil, regulations demand uncompromising physical barricades.
European Installation Baselines
An advisory on Dutch new-build outdoor installations published by DAMAN installatietechniek, summarising requirements under the Building Decree 2012, NEN 1010, and Netbeheer Nederland, serves as a clear example of strict European 230V standards. The Dutch burial requirement for underground garden lighting cables in new-build installations is at least 60 cm, with detection tape placed above the cable to warn future excavators. Digging a trench to this depth through mature roots, rocky soil, and established hardscaping requires significant manual labor or heavy mechanical trenchers.
Furthermore, the cables themselves are heavy and unyielding. In Dutch new-build environments, only cables officially suitable for underground use are allowed, and any lines lacking steel armouring or sufficient protection are strictly prohibited. Wrestling thick, steel-wrapped wire through a deep trench is notoriously difficult for amateur installers.
Switchboard Complexity
The burdens of a 230V system extend beyond the lawn and into the home's main electrical panel. DAMAN installatietechniek notes that outdoor sockets or luminaires may not be connected directly to the main earth rail. Instead, each individual outdoor installation requires its own dedicated earth leakage (RCD) protection. Modifying a main switchboard to add a dedicated outdoor RCD is complex work that in new-build contexts is reserved for certified installers.
How Deep Do You Bury 12V Landscape Lighting Cable?
The introduction of a step-down transformer fundamentally transforms the landscape lighting process. By reducing the electrical pressure to a harmless 12 volts immediately at the exterior wall socket, the wire running into the garden is no longer a significant shock hazard.
Shallow Direct Burial
This lack of shock risk drastically alters the physical excavation rules. A commonly recommended wire burial depth for low-voltage systems is a mere 6 inches (15 cm) in US practice, though this is not a universal regulatory requirement and local codes vary. For comparison, 120-volt line-voltage systems in the United States often require significantly deeper trenches, with NEC regulations demanding up to 24 inches (61 cm) depending on the installation method — and in Dutch new-build installations, 230V mains cables must go at least 60 cm deep under the Building Decree 2012. Always check local regulations, as required depths can vary.
Slicing a 6-inch (15 cm) slit into a lawn can often be accomplished with an edging tool or a flat spade, leaving the turf largely intact and entirely avoiding the deep, destructive trenching required by high-voltage lines.
Removing the Armor and Conduit
Additionally, the material requirements are stripped down to their most efficient components. Low-voltage wiring can typically be buried directly in shallow trenches, entirely bypassing the rigid conduit and heavy junction boxes mandated for line-voltage setups. Without the need for heavy protective piping, the homeowner can snake a flexible, lightweight wire around roots and under pathways with minimal resistance.
What Size Transformer Do You Need?
A successful 12-volt installation requires precise mathematical planning at the transformer, which serves as the heart of the system. If the transformer is undersized, the lights will flicker or fail; if oversized unnecessarily, the hardware budget is wasted.
The Load Calculation Formula
Sizing a landscape lighting transformer begins by summing the total wattage of all planned fixtures. However, an installer must never load a transformer to its absolute maximum capacity. The standard engineering rule requires adding a 25% overhead to ensure voltage stability and allow room for future additions. This common industry formula dictates taking the total watts, multiplying by 1.25, and then rounding up to the next standard transformer size.
A 2026 Worked Example
Consider a modern residential garden layout requiring two distinct zones of illumination (assumed fixture draws: 3 W path light, 5 W uplight):
- Zone A (Pathways): 15 LED path lights, each drawing 3 watts (45 watts total).
- Zone B (Feature Trees): 6 LED uplights, each drawing 5 watts (30 watts total).
Overcoming Long Distances
Even with a perfectly sized transformer, moving electricity over long distances causes the electrical pressure to drop, resulting in dim fixtures at the end of a long run. To combat this, modern hardware utilises specific engineering features. Multi-tap transformer outputs allow different wire runs to be connected at slightly elevated voltage points (such as 13V or 14V) to actively compensate for voltage drop, provided the connected fixtures can tolerate the adjusted voltage. This specific feature becomes particularly important when fixtures sit more than 100 feet from the transformer, helping to ensure that the furthest LED burns as brightly as the first.
What Are Common Mistakes in DIY Garden Lighting?
Despite the inherent safety of a 12-volt system, poor installation practices can quickly ruin the hardware and trigger frustrating electrical faults. Observations from DAMAN installatietechniek on common Dutch outdoor lighting failures provide an excellent troubleshooting blueprint for amateur installers to avoid.
1. Inadequate Trenching and Protection
The most frequent physical error involves installing cables too shallow or failing to utilise protective tape. Even a 15 cm low-voltage trench must be respected; laying wire just beneath the grass line guarantees it will be severed during routine aeration or deep lawn dethatching.
2. Compromised Connections
Moisture is the ultimate enemy of buried electricity. DAMAN installatietechniek explicitly states that all outdoor lighting cable connections must be made in waterproof IP68 junction boxes, noting that open or insufficiently protected connections are entirely prohibited in Dutch new-build installations. Using indoor electrical tape or standard wire nuts underground will inevitably invite water ingress, accelerating corrosion and causing system-wide failures.
3. Circuit Overloading
Another critical failure point is putting the entire outdoor lighting array on one single circuit group. By routing every exterior light through one breaker switch, the homeowner risks severe overload, and a single fault can take down the entire exterior circuit.
4. Misapplied Fixtures
Finally, amateur installers frequently attempt to save money by using indoor light fixtures outdoors. Without proper UV resistance and specialised weatherproof gaskets, indoor-rated housings crack under solar exposure and quickly fill with condensation, destroying the sensitive LED drivers inside.
Conclusion: The Smart Garden Horizon
The true advantage of selecting a low-voltage architecture extends well beyond the initial weekend of installation. By avoiding deep excavations and restrictive steel-armored cables, the homeowner secures a highly adaptable infrastructure layer beneath the soil. Once a properly sized 12-volt transformer and appropriately rated wires are in place, the system is well positioned to absorb intelligent controls. Integrating Zigbee-compatible smart relays or automated atmospheric sensors later can often leverage the existing buried wire, eliminating the need for extensive re-trenching, though modifications to the transformer or control wiring may be required.
However, 12V systems do have limitations. They are unsuitable for very long runs or high-wattage fixtures without incorporating multiple transformers, and traditional line voltage remains the practical choice for large or commercial-scale installations.